
If you're not familiar with the Whole30 eating plan, it is a plan to rid your body of anything that can cause inflammation. That includes all dairy, grains, sugars and many more items. The almond milk you buy in the stores has some sort of sweetener in it, so it's not acceptable for 30 days. This eating plan literally resets your system and flushes all the toxins out of your body. It also breaks the addictions we have to these harmful products.
As promised, Part 2 of the Almond Milk journey....
In a previous post about how to make almond milk:
How To Milk An Almond...
I left you with a picture of my almond pulp dehydrating and a promise to share my recipe and very messy method of making tortillas from the pulp.
Before we can make the tortillas, we have to make the flour. Some people call it meal, but I try to grind mine fine enough I can call it flour.
 |
| Pulp in dehydrator |
This really worked out better than I thought it would, the pulp does tend to fall through the holes, but since the bottom is solid, it can't escape. You just spread the wet pulp around as well as you can, it will be in lumps of course, but it will dry nicely.
 |
| Dehydrated Pulp in large container ready to grind. |
Since the dried pulp is so easy to lose in transfer, it's best to have large container to shake it off in. I use one of these handy busing pans that they use in restaurants to clear the tables. You can find these at Sam's Club. They're one of the best purchases I've ever made, they come in handy for so much.
The Flour Making
 |
| Add small amount of dried pulp to blender |
 |
| Sometimes you get a dust storm in there. |
 |
| Stirring the flour away from the blades |
I take the handle of a long wooden spoon and loosen the flour that has settled around the blades and then blend some more. Make sure the blades have stopped completely before doing this please! You'll want to blend this on the highest speed you have.
 |
| Finely ground Almond flour |
 |
| Almond flour in a jar |
You can freeze the pulp and grind later, but I like to do mine as often as I make the almond milk, we're eating a lot of these tortillas around here, I'm gluten free and several relatives and myself are on the Whole30 where you can't eat any grains. This is like totally awesome to us. Seriously!
Making the Tortillas
 |
| Assemble the ingredients |
Assemble your ingredients
3 cups Almond Flour
1 cup Tapioca or Coconut Flour
(I can't have the coconut, so I use Tapioca, it works well for me.)
4 teaspoons Olive or Coconut Oil
(again, can't have coconut, so I use an alternative)
1 cup Warm Almond Milk
2 teaspoons Sea Salt
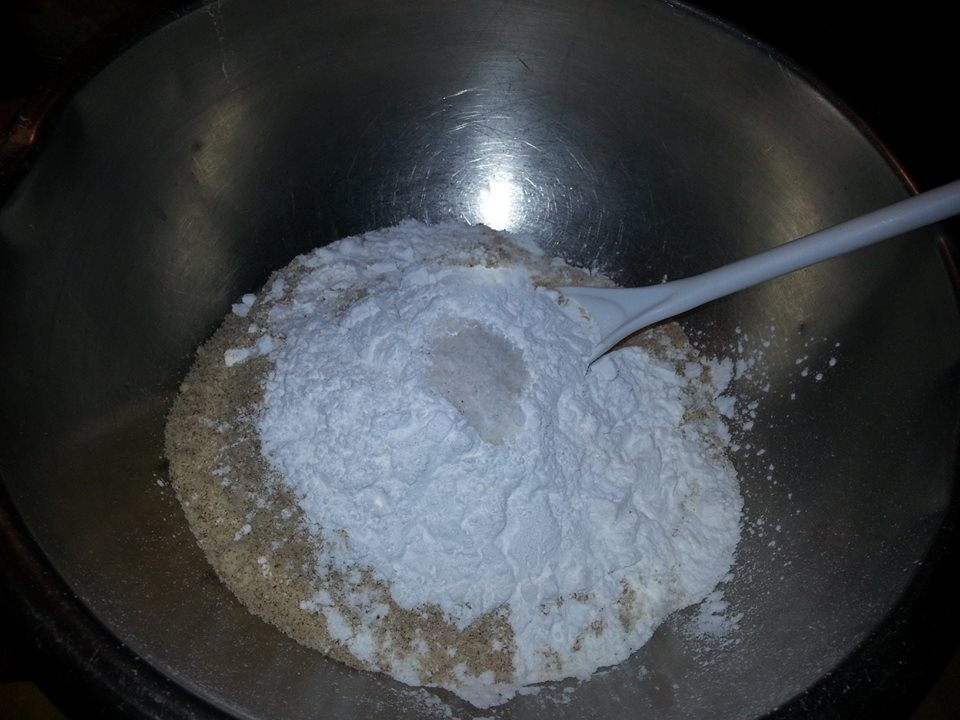 |
| Mixing the dry ingredients |
In a large bowl mix your flours and salt together and mix.
 |
| After the oil is added |
Add the oil and mix. It should look something like this.
I have to confess....I forgot to take a picture after I mixed the milk, so you'll have to use your imagination here, ok?
After mixing the previous ingredients well, then add the cup of warm almond milk and mix well and form into a ball.
 |
| A nice almond flour dough ball |
Turn the ball of dough out on a well floured board, I use the tapioca flour to coat the board. Knead the dough for about two minutes.
 |
| Back in the bowl to rest for 30 minutes |
Put the kneaded dough ball back into the mixing bowl and cover with paper towels or a dish towel and let set for about 30 minutes.
And the fun begins!
 |
| 16 pieces of dough ready to roll |
Once again, I forgot to take a picture, the one where I show you how to separate the dough. Use that imagination again here. I take a sharp knife and cut the ball into two parts, then cut those two pieces into two parts, and so on until I have 16 pieces. If you want to make really big tortillas, you can cut eight pieces. I recommend staying small with these, because they are a little hard to handle if they're too big, and sometimes they tend to fall apart while you're working with them.
Let me just say this here...never in a trillon years would I have a cooking show, BUT if I did...I'm pretty sure they'd call it
A Southern Mess
So, I'm warning you, these pictures are gonna get messier as we go on. I tend to be covered in flour when I'm finished with these.
 |
| My very messy cutting board filled with very messy tortillas |
Take each little dough ball and mash each one down with your hand and then with a very well coated rolling pin, shape into the best tortilla shape you can get. You can see from these that some look way better than others. I'm more concerned with getting them to stay in one piece here than how they look. Some recipes call for an egg or two, but I'm allergic to egg whites, so that's not an option for me. Some call for honey, but honey is a no-no on the Whole30.
 |
| This one needed a little extra help |
Sometimes you have one that just refuses to co-operate so I just give it a little spritz with my homemade non-stick spray(olive oil and water). They usually straighten up and act right after this.
 |
| Spraying the grill |
I cook my tortillas on my stove top grill, you can use a large iron skillet or an electric grill. I keep my non-stick spray handy to spray each time before placing the tortillas on the grill. Start your grill on high, but if they start getting too brown, you'll need to adjust the heat. I usually turn it down on low before I'm finished.
 |
| Tortillas on the grill...one nice, one messy! That's the story of my kitchen. |
As you can see, some end up with a little too much flour, but no worries, they're still yummy!
 |
| 16 ready to eat warm Almond flour tortillas |
The finished product. When you can't have bread, these are seriously worth the trouble and the messy kitchen that you end up with.
We're thinking up all sorts of things to do with these....I'm thinking chicken pot pie, some sort of fruit roll, etc. They have a sweet nutty taste, but not a strong one, they are really very, very good.
 |
| Adron, aka Boy....he's a bit messy too. He takes after his Nana I think! |
I had a helper in the kitchen today, my grandson, Adron. He loved the tortillas and he actually ended up with less flour on him than I did. He's a great helper, but he doesn't have an off switch if you know what I mean!
In simpler terms, here's the recipe
3 cups almond flour
1 cup Tapioca or Coconut flour
2 tsps sea salt
4 tsps Olive or Coconut oil
1 cup warm almond milk
In a large mixing bowl, combine the dry ingredients, mix and add the oil. Mix and then add the warm milk. Form into a ball, turn out on a floured board and knead for two minutes. Place back into the bowl, cover and let sit for 30 minutes. Turn out onto floured board, with a sharp knife, cut ball into 16 evenly sized pieces. Taking one at a time, press the ball to flatten slightly, then with a well floured rolling pin, roll into tortillas of desired thickness. On a hot griddle or large cast iron skillet sprayed with non-stick spray, place the tortillas, brown quickly, turn and brown other side and remove with a spatula to a plate.
Note: If you want to make these with regular flour(which isn't really good for you, you know) simply use four cups regular flour and no additional flours. You will also need to increase the milk amount to 1 1/2 cups. You can use regular milk if it's acceptable to you.
Ole!
I think that's Spanish for Enjoy!
patti
No comments:
Post a Comment